Showing posts with label christmas. Show all posts

Friday, November 15, 2013

Christmas Silhouettes!

In a flurry of activity, I have come up with Christmas silhouettes based on vintage illustrations, and called the collection "Noel". If you're looking for the personal use edition, go to MScraps; the commercial use is over at Scrapflower in 2 packs, and includes vectors.


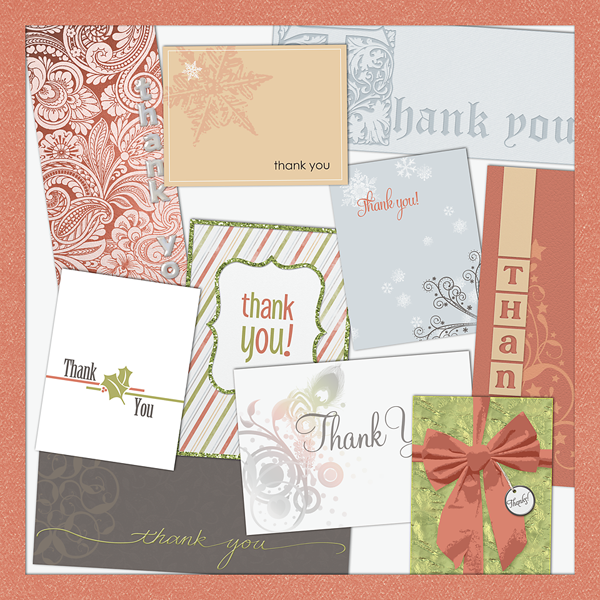
The CT of course made some great pages!

By Astrid:


By Fu:


By Jenn:


By Jo-Anne:


By Julie:


 And by Karen:


And of course they're 20% off through Sunday!

Thursday, December 27, 2012

Didja get lots of prezzies??

I did (Copic markers, YUM!), and now I need to send thank you cards! So I made some up yesterday, and they're on sale today 20% off. There are 10 pre-made printable cards, but also a little mini-kit with some cool papers and elements you can use to make your own. MScraps is also having 20% on anything in the "Christmas" category, so my Visiting Time is still on sale!

Here's the Thanks: Printable Cards and Mini-Kit:


So, just a little something for you to express your thanks! Hope you have a wonderful rest of the week, too!


Thursday, December 2, 2010

Christmas Kisses @ The DigiChick!

Hot off the presses is my newest kit, Christmas Kisses, now @ the DigiChick (and 20% off today & tomorrow!). Another non-traditional Christmas kit, this will still work for cold, or hot, Christmases! Here's the preview:


And I just made a layout with it as well:


And here are some pretty pages from the CT:

By Jenny:


By Karen:


By Julie:


Have a wonderful weekend, whether it's full of sun, or snow!

Thursday, November 25, 2010

Cozy Warm Christmas @ MScraps -- and a winner!

 OK! Happy Thanksgiving everybody! It's close to Friday in Holland, though, so my newest kit, Cozy Warm Christmas, is finally live, and on sale--and the rest of my shop at MScraps is on sale at 40% off, too--so stock up!


I've been astounded at the variety of layouts my team has made. This is a really large kit, however, so perhaps I shouldn't be surprised! I did make it in slightly non-traditional colors so that people across the world could use it. That's important to me!

By Ona:


By Jean H.


By Romy:


By Vera:


By Sandrine:


By Ulla-May:


By Julie:


By Jen:


By Karen:


Oh, and since I asked all of them to make 3 pages each, and some made even more..... I can't tell you how difficult it was to choose these!!! *lol* We should all have such problems...

Aaaaaaaaaaaaand:

The winner of this kit is the first Barbara (sorry Barbara-Sokee, not you!)--you guys need to start leaving your e-mail addies, cuz Blogger doesn't show them to me (or I don't know how to find them). So Barbara, please e-mail me! Here was Mr. Random's list:

List Randomizer

There were 12 items in your list. Here they are in random order:
  1. 8. Barbara
  2. 6. DoggiNo
  3. 5. T
  4. 1. May
  5. 9. Monica A.
  6. 4. Tracy
  7. 3. Lisa
  8. 2. Pam
  9. 10. rjjx2@aol.com
  10. 12. Barbara
  11. 7. Dady
  12. 11. Helena
I hope you are having a wonderful, wonderful day, whether it's Thanksgiving, or a plain ole Thursday.

    Friday, December 28, 2007

    The Benefits of Black and White

    I had a bunch of different pictures from Christmas. As usual, it's a chaotic time, and colors, sizes, and shapes abound... not always harmoniously. One solution, I've found, is to make a large part of the layout be black and white. That way, whatever you introduce as the main focus won't be so jarring... Here, the presents close-up under the tree was a great picture in and of itself, but it made all my people pictures seem pale and faded, and they were getting lost. Turning the main picture into black and white allowed the yellow, red, and blue in the picture of Allen to jump out, and also gave me the idea to use the ornament as a typographic element.

    The ornament, by the way, is one that I made with a glass ornament from Michael's, filled with clear varnish and PearlEx, then swirled all around with alcohol inks on the outside. I made a bunch of them for Christmas presents, and they turned out pretty cool!

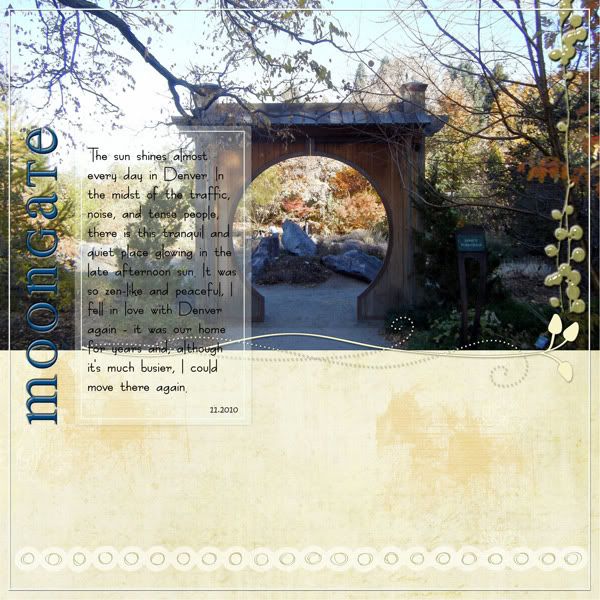
    A couple of tricks here: duplicating the main image layer, then desaturating the top one so all you see is the black and white, but then erasing the black and white to let the color from the layer beneath shine through. Easier than selecting an area--especially a complex one, like this was, with all the pieces between the pine needles, then doing select-->inverse, and desaturating the rest all on one layer. For the letters, I opened another picture which contained a scan of an alcohol ink background, and typed the letters on a different layer. I selected one letter at a time with the magic wand, then just switched to the alcohol ink layer and copied the selection, which I then pasted into this layout here. Easy peasy!

    By the way, if you ever have any questions about what I've done on these layouts, please leave me a comment!