This month @ The DigiChick is all about “What’s new?” Although we’ve lived here on the coast for 3 years now, the beach and the ocean are still a very new thing to me, and continually astonish me.
For this first type challenge I’m going to focus on using VERY LARGE TYPE as the basis for the entire layout. When you use very large type, it’s really easy to use it as a clipping mask for photos, and it gives some interesting shapes to your page. To give this a twist, I’m also going to suggest that you use your photo’s central figure as part of the clipping mask. Don’t worry, this is easy to do!
First of all, here are some samples:
Subgrafix @ Deviant Art:
![[image]](https://lh3.googleusercontent.com/blogger_img_proxy/AEn0k_ut3qQ1lZiklR4Ico69o6jFnf4uGjMOmJWLEc4IRCM-L9X455VKpfJuZ22vFO6Xk-Di6qSORmRjxb5ym2xEanDQXk5PNDKxQHzTK1HCxYfeBp2_JuypwPm2B1i1WTtSYfxezAAZuksAlaWsMaCxN8Z9JNnAWg=s0-d)
Dronograph @ Deviant Art:
![[image]](https://lh3.googleusercontent.com/blogger_img_proxy/AEn0k_sutgOfbfjtwZ4EebFPHrY1O91TEVOhQMN15T5bhYXxCg7XOVH0DpsFIgZhYv80085_2R85u8uxxFtc-5399HZZ-L_2KxGr94PkJxZdjpeeWkvBa-V7TOsP-0iJ5Y4cnLo8cz0ewguBnvXPOYyuU19_LQ=s0-d)
See how the type blends in with what’s going on in the background?
Here’s how I’ve translated it into a layout:
![[image]](https://lh3.googleusercontent.com/blogger_img_proxy/AEn0k_siVQiA0WkI25K_X9O58qsXXIZbjkcgMHjOfkMJ2QNc3I-6JfiKvYIFdOTDcn8aRHDuvEW9gF3ZZcWYCpUpCCwGdwtuEmp1QTVaEGfcojJap4p02i-F5DmrcOa-kwvhWByDGQaAHzvJB3suqWV2IILgX6Bw7rlYcQw=s0-d)
And here’s how to do it:
1. Look for a photo you like, preferably with a strong visual component with clear outlines, such as a person or flower or building. You are going to ADD this outline over, under, in the middle of, or somewhere attached to the type.
2. Think about what the theme of the photo is. Do several words come to mind, or just one? Write it/them down on a piece of paper and play around with how they might stack or be squooshed. Write it out in all caps, and in lower case. Think about where the silhouette or outline of your central figure from the photo might fit (sides, top, bottom, middle).
In my case, I focused on the strong triangle formed by my son’s stepping from rock to rock, which suggested the A. And in the first example above, you can see the woman’s shape by the side of the letters.
3. Choose a strong typeface that will work with your theme. You want something pretty thick, but you also need it to be legible, so don’t pick anything with really fine lines that will get lost. Start your layout and put the type there.
Note that you don’t have to use a font that’s all caps, or one that’s super, super-black. For mine, I actually used Charlemagne, but I also like Zepp — or really, just about anything will work unless it’s too fancy. Heh. =)
4. Pull your photo into the layout, on the bottom layer. On a NEW layer a
bove the photo, take your marquee tool (lasso or straight edge lasso) and vaguely outline your central figure. It doesn’t have to be perfect, just ballpark. Fill the shape with black. Now hide your photo.
5. Continue arranging the type and the figure you just outlined until they all fit together in a pleasing fashion.
6. Highlight all the layers that have letters or words on them, and the outline layer (ctrl+click on the appropriate layers) then merge them (ctrl+e) [or go to Layer-->Merge Layers (down at the bottom of the menu), or right click and choose merge layers]. Now you should have just one layer with black shapes on it. This is what you’ll use as your clipping mask.
7. Make your original photo visible, and drag it above your mask layer. Press alt+ctrl+g if you’re using Photoshop CS+, or just ctrl+g if you’re using PSE, or whatever “Make Clipping Path” command your graphics program has.
8. Ta dah! Now your photo is showing up in just the shapes of the text and image. At this point you can start creating a collage of photos to fill in the blank spots, or you can add brushwork to the mask layer itself by using a grungy brush to include some of the background of the photo (that’s what I did in mine; I also used the Burn tool and a paintbrush on the photo layer itself to make some of the rocks darker where my letters were).
You can play around with using other doodle brushes to add or take away from the mask as in the examples, too. Just have fun with it!
Then, give it some dimension with a few elements, and add some journaling if you wish.
–>Remember that it’s supposed to be about what’s new for you! <–
Here are some more examples from the fabulous DigiChick crew:
Here’s another of mine:

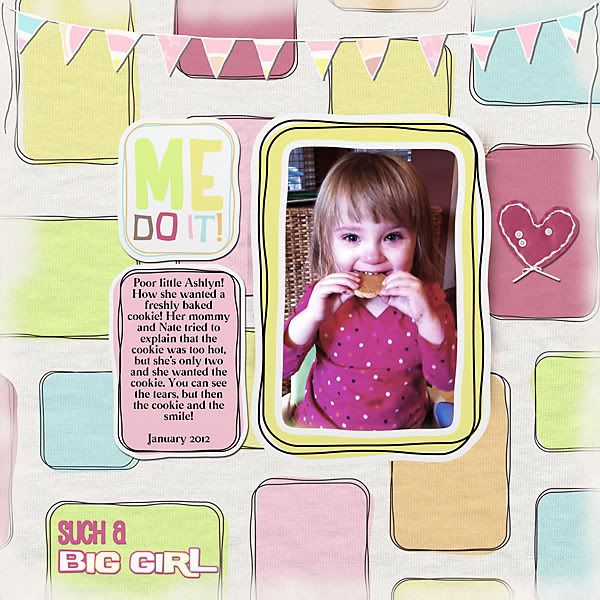
By Jenn7:

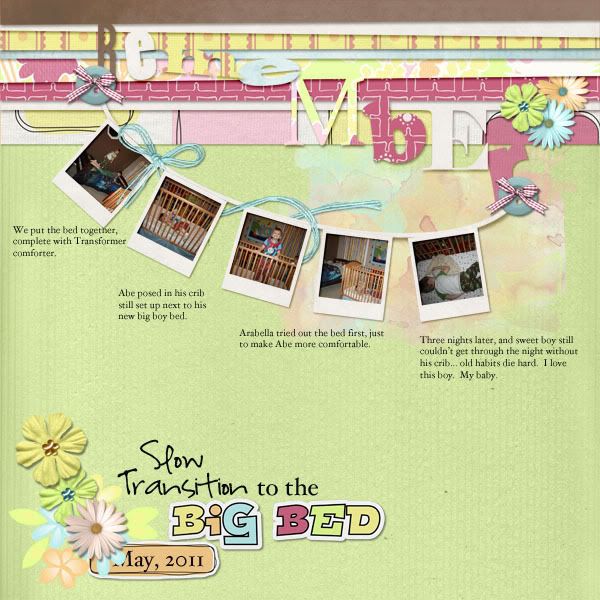
By Heather B.:
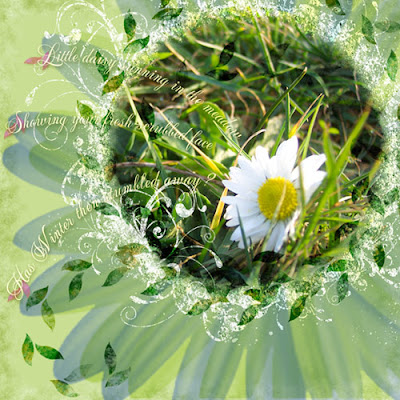
By Vanessa:
Link me up either in the comments to this post, or
in our challenge thread in the DigiChick forum. Of course you’ll get a little prize for participating!