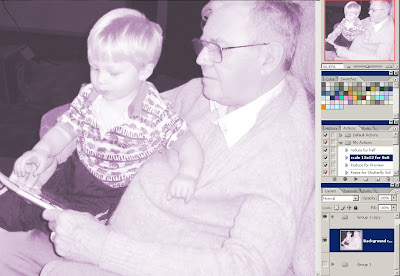
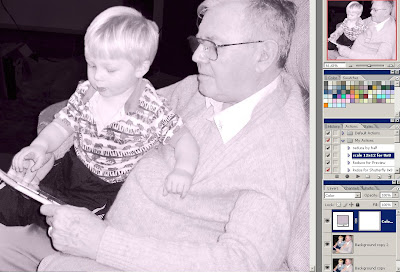
HowEVER, if you keep your color photograph and add an adjustment layer (the little half black, half white icon at the bottom of the layers palette) of "Solid Color", pick your color, then set that layer's blending mode to "Color" as well... ta dah!! Now you've got a tinted photo, versus a colorized black and white. The contrast values are still really sharp, *and* you've got color everywhere you want! KEWL!
Here are two screen shots:
Desaturated, then recolored (click the "colorize" box) with Image-->Adjust-->Hue/Saturation (click on image to see more fully):

And now with the Color adjustment layer set to color blending mode:

The difference is really noticeable in Allen's pants, for example. I remember being bummed last year when Stef talked about being able to do this easily in CS3--in CS2 there's no explicit option for this. So, yay!
I have THE hardest time recoloring things, like patterned paper or elements - seriously, it's incredibly frustrating to be able to see it in my head and NOT see it on my monitor.
ReplyDeleteGreat effect! I didn't realize my method of tinting was new to CS3! I just figured I had overlooked it all those years!
ReplyDeleteIt's my first time to visit your blog and you really got cool stuff here!!! Love that Tall drink font but unfortunately 4shared is banned here in Dubai. Darn it! so i cant download it :( will you send it to me by mail? please? :)
ReplyDeleteGreat suggestion on the Christmas gift! If i can just find somebody to babysit for DD. I always want to have a vacay with Dh only!