There are several ways you can do it. One is to use your pen tool, and working very up close, touch the pen down along the edge of the subject, dragging it lightly every time you touch down in the direction of the edge. Later you can go back and adjust your points so that the path matches the edges. In the Paths window, click on the little icon at the bottom that will change your path into a selection. Feather it one or two pixels if you think the line might be too harsh, then invert your selection, and delete the background.
You can use almost the same system by using the lasso tool, except here you're dragging continuously (a little harder on your fingers). Use the shift key to add to your selection, and the alt key to subtract from it.
In Photoshop CS2, there's also an Extraction *filter*, which is what I've used here. It's tricky to get the hang of it, I must say--today's attempt is the first one I've actually kept. To use that, work also very up close on the image in the pop-up window. The goal is to outline the subject (you don't have to worry about the photo edges--the selection automatically includes those as a line) using a marker of varying widths, then adjusting with another tool, then filling in so it keeps whatever is filled in. Preview it, adjust with the paintbrush tool that allows for varying levels of opacity (handy for hair), and when you click ok, it just strips all the rest.
I always use a fairly wide and soft blur brush around the edges. This allows the image to look less like it's just plastered on, and more that there's actually some perspective going on there...

Here's the original photo (notice that large white square of paper, which would really detract from the sweet little boy listening to a story):

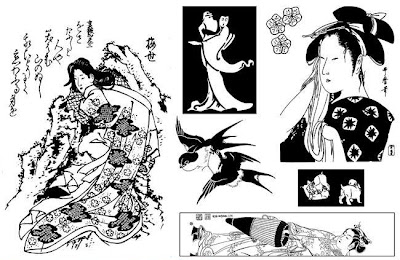
Oh, and also, the newest sheets for Art Neko are out:
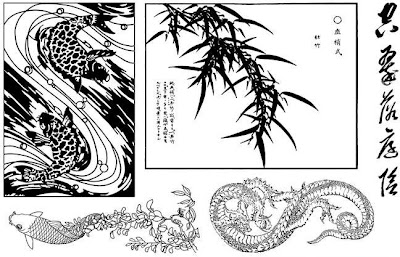
And the second half-sheet:
Enjoy!
No comments:
Post a Comment
If you want an answer directly, please provide your e-mail, as I'm unable to access it... =) Thanks!